How I Got Rid Of My Acne Scars From Home
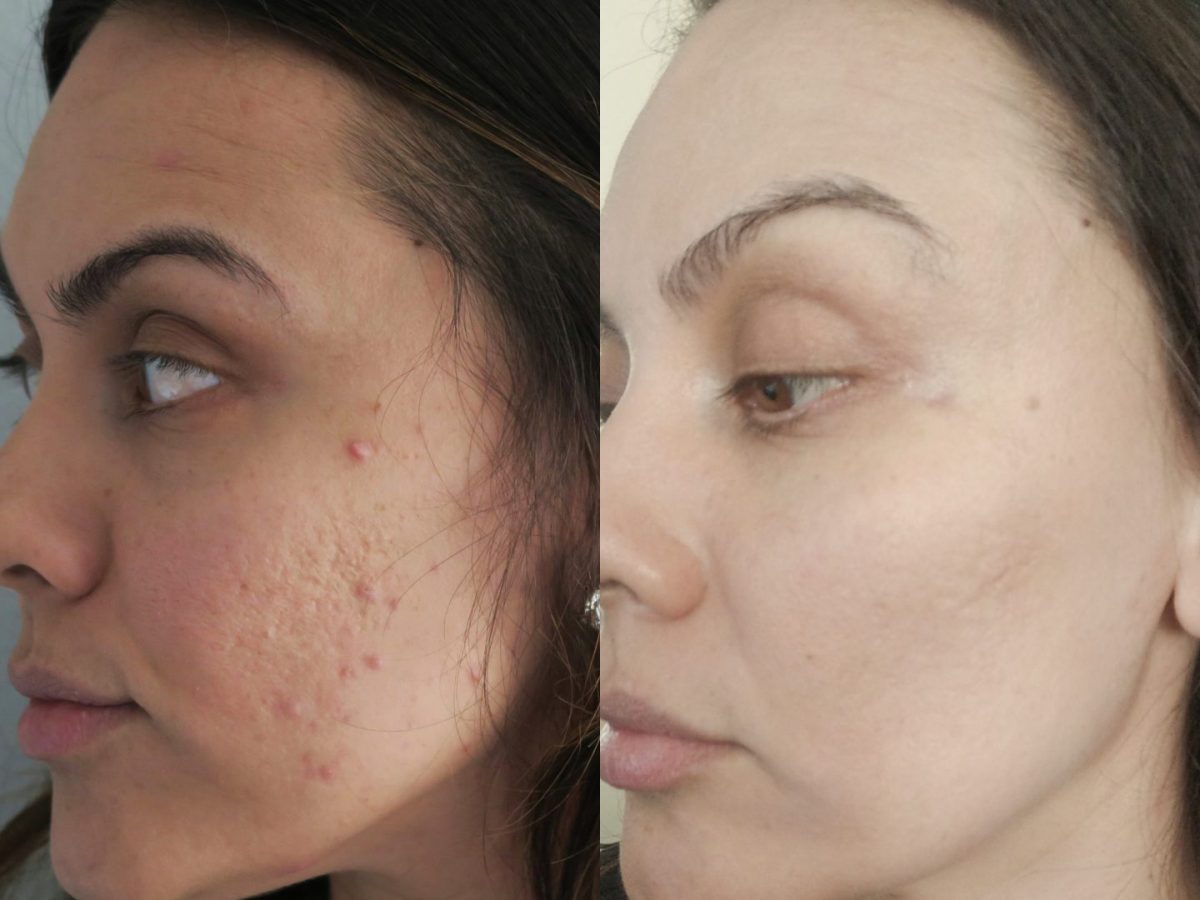
Getting rid of acne scars at home was quite the adventure, and I’m thrilled to take you along for the ride. Dealing with acne was tough, but tackling those pesky hyperpigmentation spots and pitted scars? That was a whole new level of challenge. Trust me; it wasn’t always smooth sailing. There were times when I felt like I was battling an uphill war, and progress wasn’t exactly a straight line. But hey, I learned a thing or two about patience and consistency.
Here’s the cool part: achieving great skin doesn’t have to drain your wallet. I discovered that at-home treatments are not only affordable but also incredibly convenient. In this post, I’m going to spill the beans on my entire journey, from day one to the moment you’re reading this.
It all started with me hitting up the pros to kickstart my journey. The goal? Banishing that acne! I teamed up with a fantastic medical spa in Austin, and together we tried out a bunch of treatments like the Skin Pen (I’ve got a dedicated post about that, by the way), PCA Skin treatments (kind of like the one I did later at a different place, you can check it out here), and Glowbiotics treatments. As my acne started to back down, so did those irritating pitted scars and stubborn hyperpigmentation spots.
But here’s the twist: once my pro treatment days were over, I didn’t want to keep shelling out big bucks every month. So, I decided to switch things up and find a more budget-friendly way to keep my skin looking its best.
Quick heads up: I tried various peels, lasers, and micro-needling treatments over the years. While they definitely helped, I sometimes picked up new scars and brown spots in between sessions. But guess what? This past year, I finally nailed it. My skin is practically flawless, with just a hint of hyperpigmentation and those faintest pitted scars.
How I Got Rid Of My Acne Scars From Home

LED Light Therapy
LED light therapy has been a recent addition to my regimen, and I can’t believe the results I’ve seen in such a short time. Seriously, you’ve got to see what this LED Face Mask can do – check it out right here.
I first experienced LED therapy in a professional setting after a skin treatment, and it got me wondering if I could achieve the same results at home. So, I did some research and stumbled upon this LED Face Mask. Now, I use it several times a week. It’s incredibly convenient and surprisingly effective. The best part? It’s hands-free, so you can multitask while giving your skin some love. I’m absolutely loving it!
I’ve been using the LED Face Mask with the red and amber settings five days a week. The red LED light works wonders by stimulating collagen production and improving cell turnover, which has been a game-changer for my pitted acne scars and overall skin firmness. On the other hand, the amber LED light is known for its healing and soothing properties. It helps fade discoloration, promotes lymphatic drainage, and brightens up your skin.
Oh, and fun fact – it’s the same model that Kourtney Kardashian advertises, but I found it at half the price! Trust me, this is a skincare investment you won’t regret.

The Lux Light/ Lux Beauty Tools
For 10% off your Lux Light use code: Amberxo10
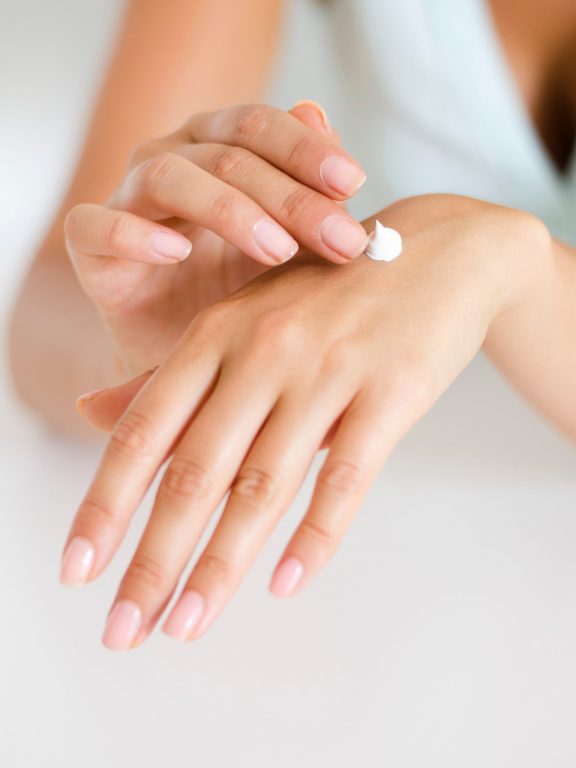
Proper Skincare
This is key regardless of your skincare goals! Whether you are doing at-home or professional treatments you still have to work on your skin in between those treatments. However, you can’t jut pick random products and hope it all works out for the best. It doesn’t work that way. In the same way that specific medicines treat specific conditions – specific skin care products do likewise. These are the ones that you need to use and why: Skincare played a huge factor in how I got rid of my acne scars at home.
Vitamin C
Vitamin C is a must-have in your skincare routine for addressing acne scars and brown spots, and it’s also a fantastic addition to your anti-aging regimen. It crucial role as a potent antioxidant, safeguarding your skin against free radicals while promoting the repair of skin cells. Moreover, it aids in scar reduction by stimulating collagen synthesis, the protein responsible for maintaining your skin’s structure. So, it’s not just about scar treatment; it’s also a key component of an effective anti-aging strategy. Personally, I make sure to apply it every morning without fail.

Retinol
Retinol has been an absolute must for me throughout my journey battling acne, acne scars, and now actively addressing the challenges of aging. Here’s why retinol is my skincare hero:
First and foremost, it’s a versatile powerhouse. Retinol doesn’t just sit on the skin’s surface; it goes to work. It acts as an exfoliant, effectively eliminating dirt, dead skin cells, and excess oil from pores, helping to prevent breakouts.
But its benefits extend deeper. Retinol works beneath the surface, stimulating collagen production and promoting the turnover of new skin cells. This remarkable dual action helps reduce scars and contributes to smoother, more youthful-looking skin.
The best part? I’ve made retinol a nightly habit because I’ve witnessed its transformative effects. It’s become an indispensable part of my skincare routine, and I wholeheartedly recommend it.
Rodan + Fields /Redefine Renewing Intensive Serum
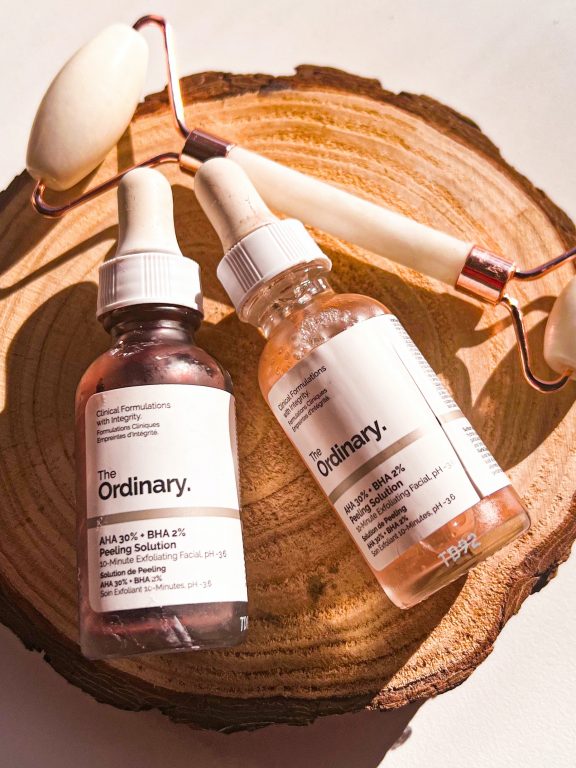
Aha’s & Bha’s
These chemical peels are pretty light, and you can use them every day, depending on which one you go for. Aha’s and Bha’s will give your skin a nice exfoliating boost and help even out your overall skin tone.
At-Home Dermarolling
Dermarolling is an affordable and effective way to care for your skin at home. I’ve experimented with needle sizes, ranging from 0.25mm to 1.0mm. Dermarolling creates small skin tears, stimulating collagen production and rejuvenating your skin. I use the 0.25mm derma roller nightly for its gentle and quick-absorbing properties, enhancing product absorption by 70%. I reserve the 1mm roller for occasional use every 4 to 6 weeks, as its longer needles result in subtle micro-tears. Notably, I avoid using the 0.25mm and 1mm rollers in the same week. These tools have been my reliable go-to for at-home skincare, inspiring me to explore more DIY skincare options.
Personal Recommendations: The .25mm Derma Roller/ Rodan + Fields Derma Roller Pack of .25mm & .50mm and the .1mm Derma Roller/Amazon
At-Home Electric Micro Needling
This is the same as derma-rolling but it’s an electric pen. I know it sounds scary. I personally wasn’t afraid to try it because I was used to the Skin Pen and had read a lot of reviews of people using an electric microneedling device from home. Through research and experience, I have found that they are generally very safe to use as long as you are using them correctly. Of course, I use numbing cream prior to starting and I never reuse the same needle head. I did find faster results from using an electric pen as opposed to a .50mm or a 1mm derma roller. So this has replaced those longer needles, however, I do continue to use my .25mm derma roller for product penetration.
Will be trying any of these ways that got rid of my acne scars from home?
Click HERE to read about the treatment I did to get rid of my acne!


Miranda
July 18, 2024Can you use tretinoin while derma rolling?